Steel Boat Repair 101.

26th - 28th March 2007
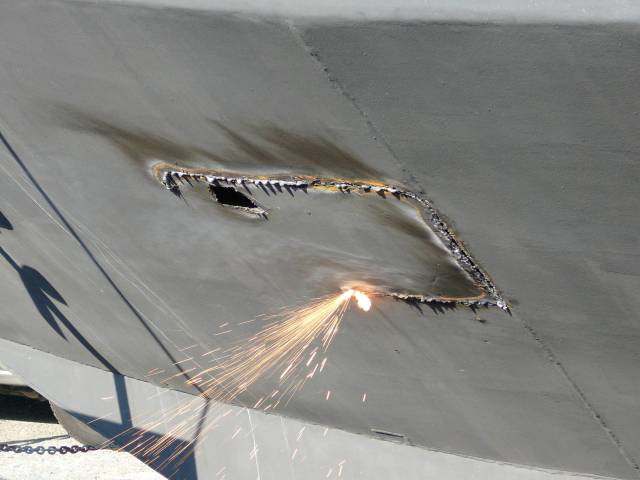
One major reason we often cited for choosing a steel boat over all other available hull materials was ease of repair.   Now we were about to put our theory to the test big time.   Harry arrived early in the morning and set to work to cut out the corroded steel in the hull and fit a patch of new steel.
                                 The first cut is the deepest.......

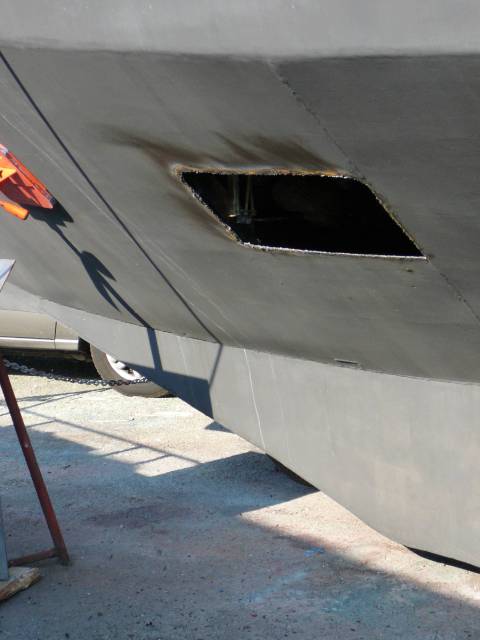
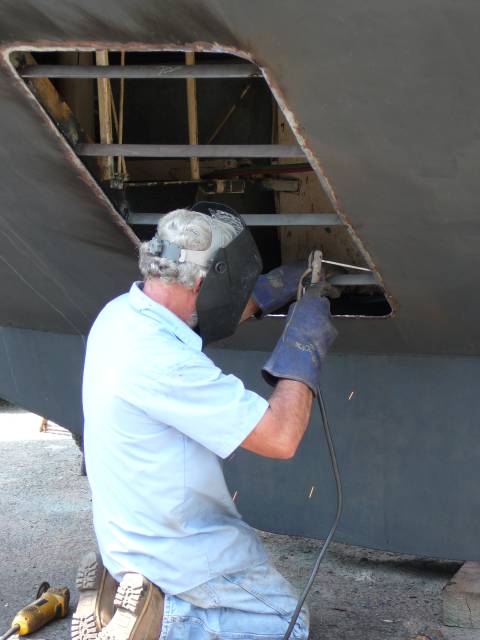
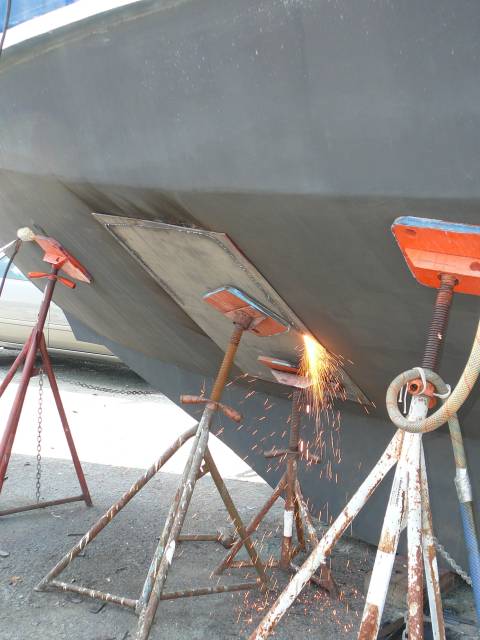
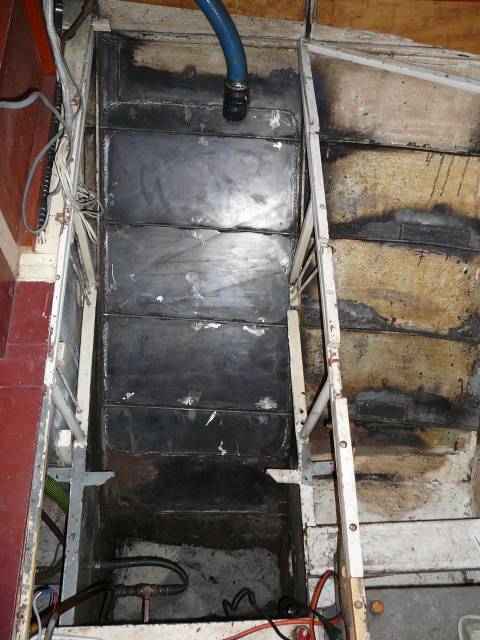
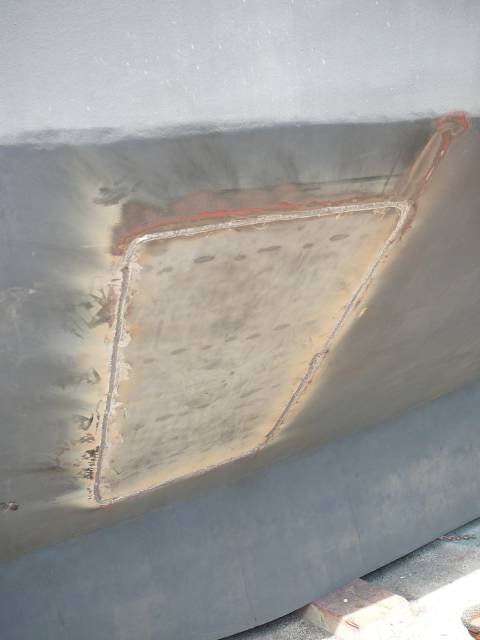
It was a scary moment when Harry took his cutting torch to the hull.   He cut out the bad section and then made a bigger hole, to give himself more light inside the hull.   Finally he cut out the finished size of the area we wanted to replace, which was about three feet by four.   We were left with a hole which gave easy access to the interior of the boat without climbing the ladder!   As the old paint burnt off, the boat was filled with unpleasant, acrid smoke.


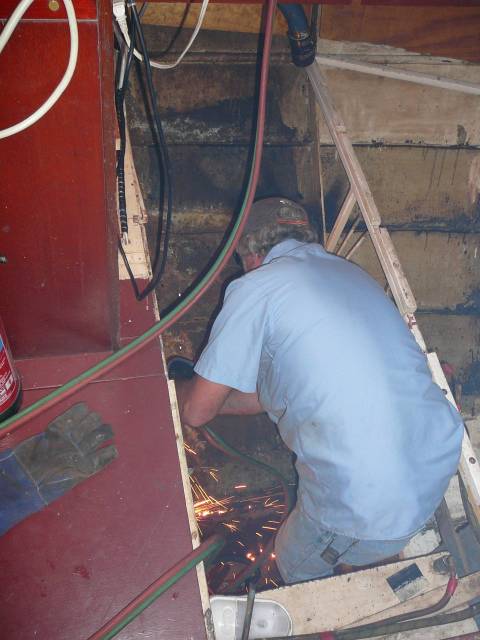
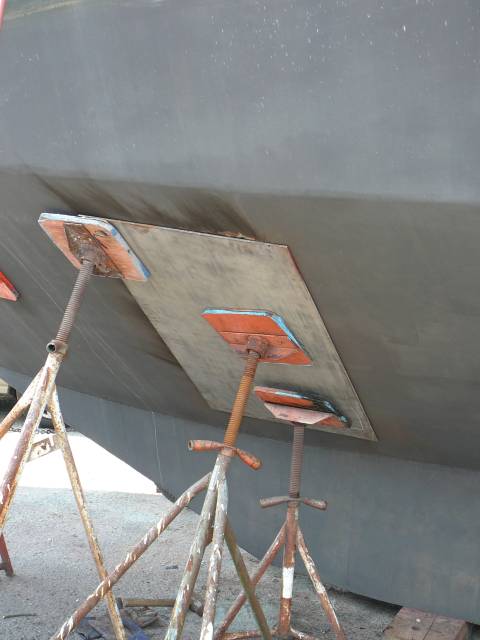
While Harry took his lunch break, Phil helped out by grinding off the rough edges and any rust spots from the surrounding area, ready for the new steel to be put in place.    Harry's next task was to weld in place the new stringers, or lengthways supports which form the frame of the hull.   Once they were secured in place he welded an eye onto the new piece of steel, which we could use to lift the steel into position, using the come-along.   The new piece of steel was then held in position with the come-along inside the boat and several of the boat stands on the outside. It was important to put the steel in position before cutting it to shape to allow for the hull's curve.

            
Now Harry was back inside the boat, cutting the steel to the shape of the hole he'd cut in the hull.   Once he was happy with the cut, he began at the top of the patch fixing the patch in place with spot welds.   We used the walkie-talkies to talk to Phil, who was below the boat checking the steel was fitting correctly into position inside the hole and making any slight adjustments that were required before it could be welded.
             
By the end of day one, the new patch was tacked into place, ready for final welding, so at least we could enjoy dinner without a gaping hole in the side of the boat, even if we had to sit on folding chairs and use moldy parts of the dismantled bathroom as trays!

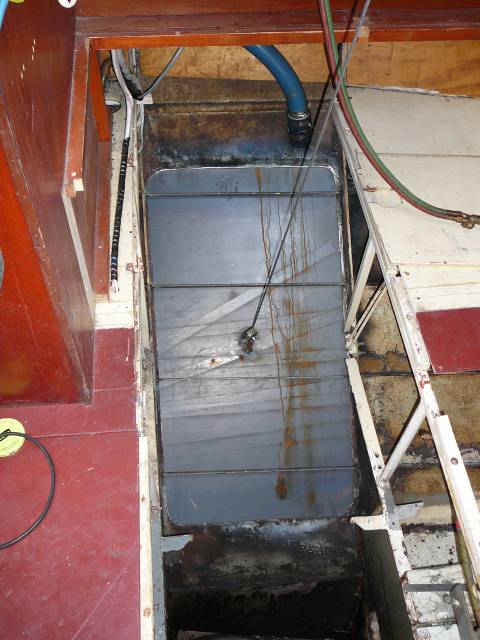
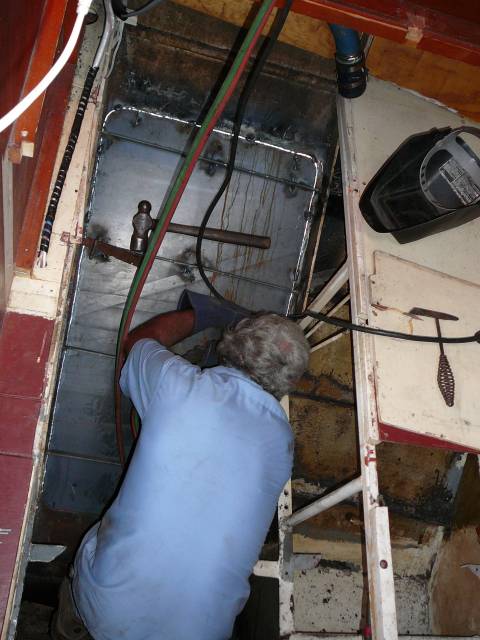
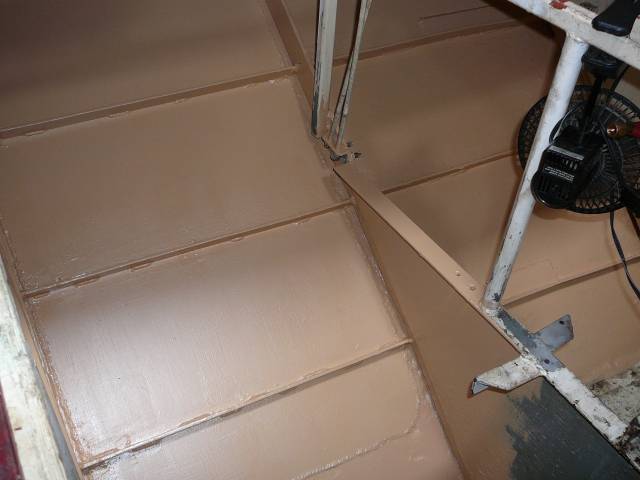
The next day Harry welded up the inside of the patch and Phil ground off the rough spots, meanwhile Harry ground and welded the outside.    In only a day and a half, we were already applying epoxy primer to the new steel.   Two coats of epoxy primer were followed on the inside of the hull with a coat of chlorinated rubber paint and a top coat of bilge paint.   

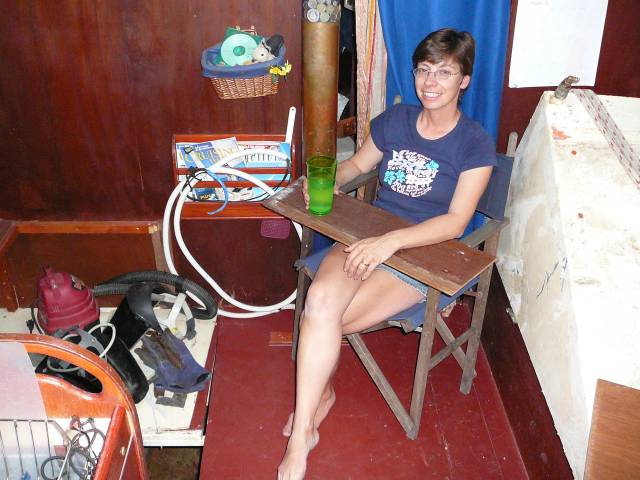
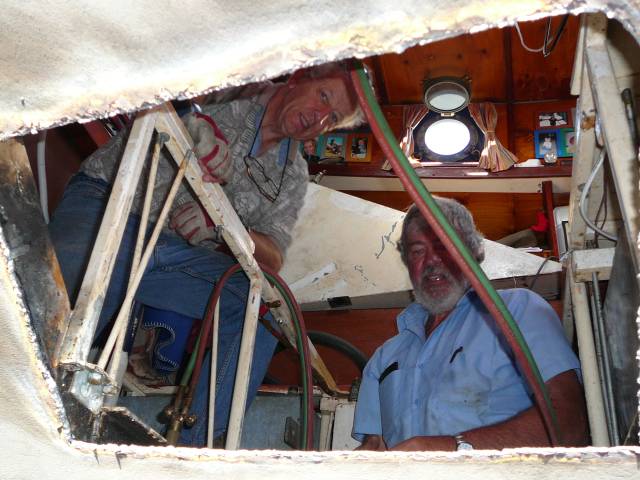
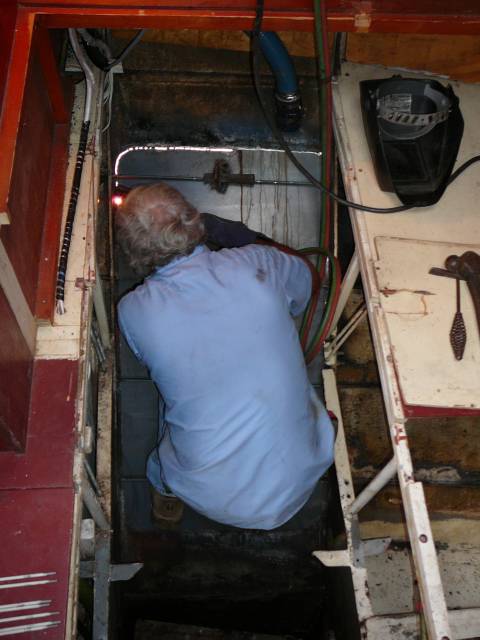
Eating dinner in style!

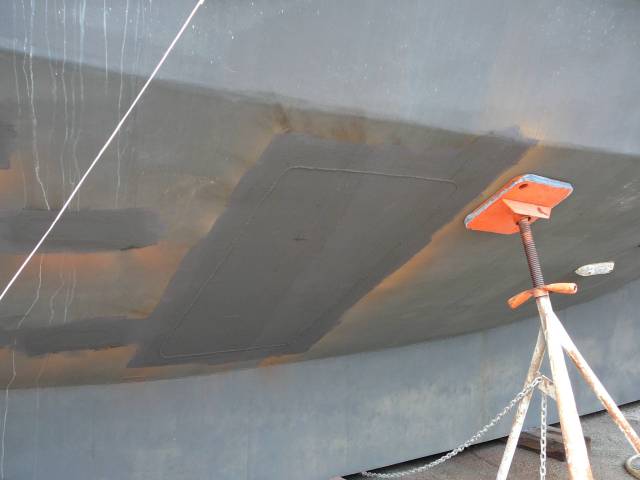
Grinding the weld, ready to paint the patch..................................................after two coats of epoxy primer.

While we worked inside the hull, Harry finished off outside, grinding a "V" around the edge of the patch and doing the final weld to make sure it was watertight.   We then applied three coats of epoxy primer and two of coal tar epoxy before adding an initial coat of anti-fouling paint.
           

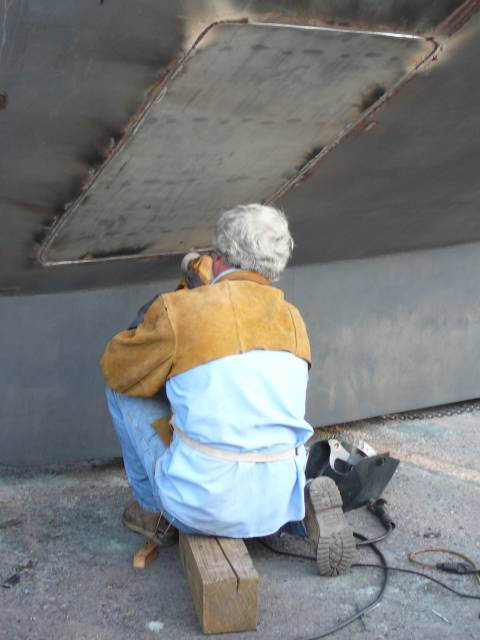
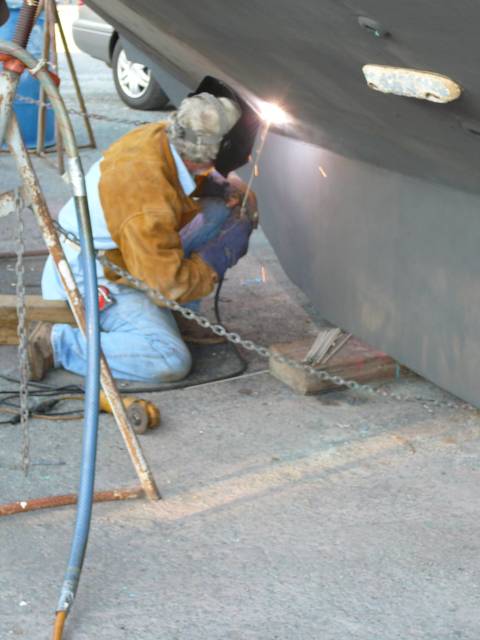
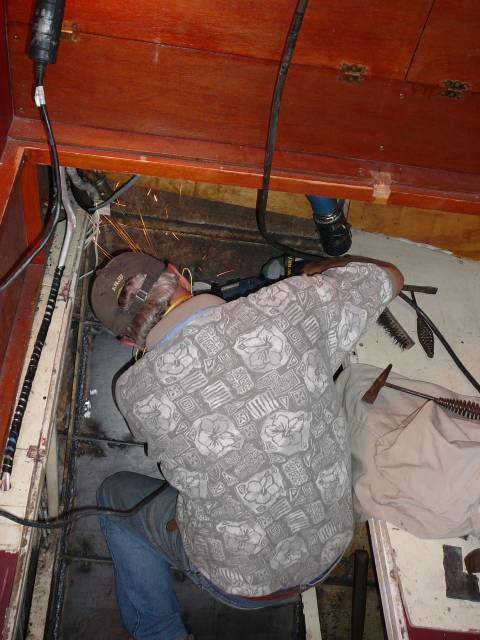
Grinding a "V" and finishing the exterior welding.

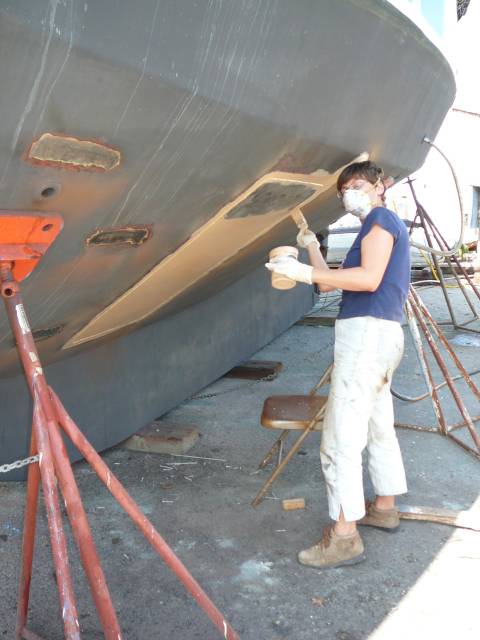
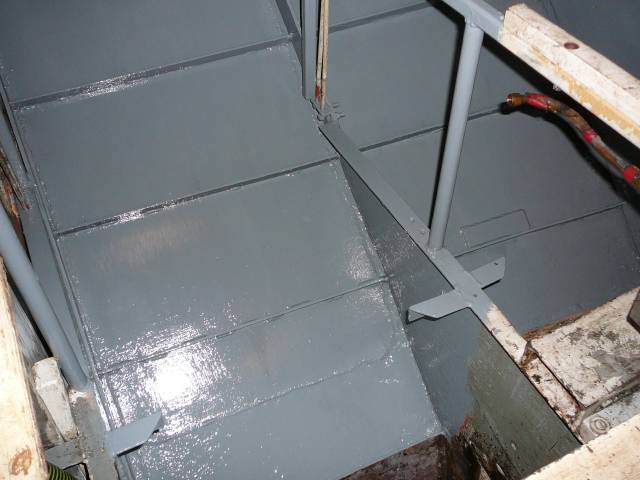
Applying epoxy.                                                                                       Finished inside and out.


Finally once the paint inside the hull had hardened, we repainted the diesel tank and dropped it back into position.    However, we decided not to start rebuilding the interior of the boat just yet.   We'd decided, as we weren't going to make it to the Bahamas this year, we'd use the opportunity to check all around the hull of the boat, all the areas which were inaccessible behind tanks, so it seemed there would be a lot more disruption before we would begin to restore normality to the interior of the boat, with a further six tanks to be lifted in order to check, repair and repaint the interior of the hull. 
Return to homepage     Return to index 2007