|
Back again to Green
Cove Springs
31st May - 24th July 2007
|
|
We'd enjoyed our luxurious kitchen building
holiday in North Carolina with Chris and Vivian but it was time to face
reality again. After all, it was about time we built ourselves a
kitchen too! Before we could begin the more joyous work of
bringing Anju back together after ripping her insides apart, we realised
we'd have to start from the bottom up, so our first job was to attend to the
ballast.
We'd torn out some of Anju's concrete and
steel ballast to attend to a couple of problems lurking beneath.
In the process we'd discovered that one section of her ballast seemed to be
made up of empty shell casings filled with lead. These
were duly repainted and relaid in their original position before we headed
to our local hardware store to get ourselves some
concrete. As a rule concreting only takes place on boats
of ferro-cement construction but here we found ourselves learning another
new skill.
|
|
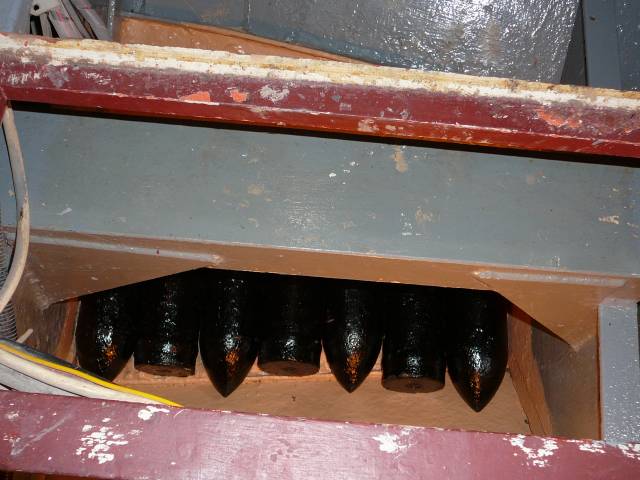
"Priming" the shells
and concreting them in place.
|
|
|
The most scary part of our bilges was also the
deepest and an area normally pretty inaccessible. Back in Wales
we'd had the bright idea of pouring a layer of tar into this deep area of
the keel, to prevent rust formation. In theory this was a
good plan, however on our maiden voyage diesel had spilled onto the tar and
re-melted it, leaving us with a permanent goop in the bottom of our
bilge. Unable to remove this sticky, revolting, black
goop, we'd then come up with another bright idea of placing a lining of lead
sheeting over the mess, in the hope of at least keeping our bilge pumps
alive! With Anju's bilges now more accessible
than ever before, that's not to say that access was easy by any means
however, we looked down at the revolting mess lurking in our keel and
considered our options.
|
|
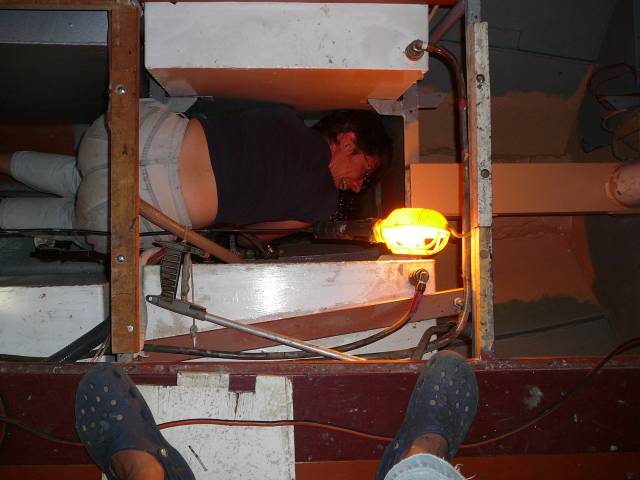
If I get stuck will you please pull me
out!!
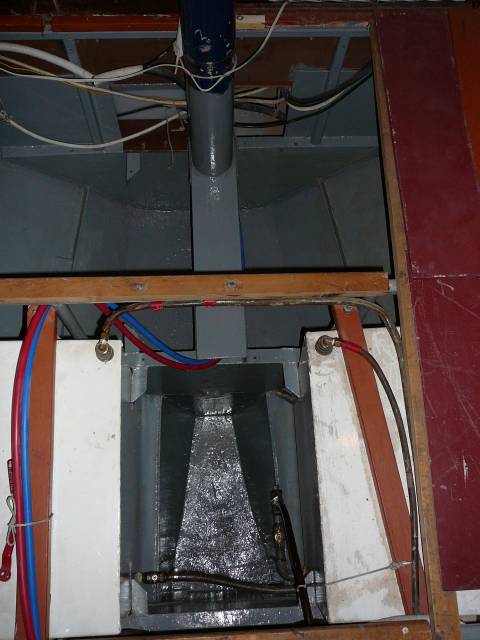
Finished bilge - a great improvement.
|
|
|
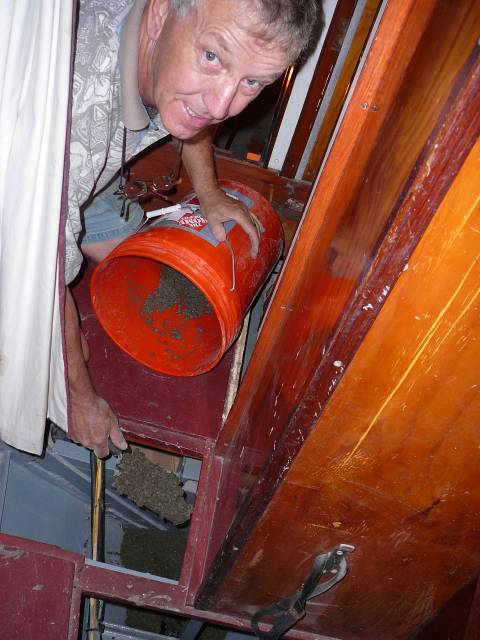
Our first idea after pulling out the lead
lining, was to try to scrape out the tarry gunk and remove it from the boat,
allowing us to clean up and repaint the bilges. Making another
visit to our local Ace Hardware we sought a tool long enough to reach the
tar but strong enough to make an impression on it. Finally
we settled on a right-angled garden hoe, which we cut to a narrower blade
shape before starting work. After much contortion and
struggle to maneuver the long tool we'd fashioned in the small but deep
area, we came to the realisation that our efforts were hopeless, the tar
just wouldn't budge and had even snapped part of the blade off our
tool.
Back to the drawing
board. Finally we decided to try to concrete over
the mess with a couple of inches of concrete and see what
happened. Hopefully the concrete would stay put and create
a new base to our bilge. Now we just had to wait for all our new
concrete to cure for a month before we could paint it.
|
|
We moved on to the galley, or kitchen area of
the boat. We thought long and hard about how our galley could be
improved and finally decided that, apart from the crumby chipboard worktops,
it was pretty well designed. We decided to rebuild it pretty
much the same as before. Every part of the kitchen had been
labelled on dismantling but as we set to work on reassembly, some pieces
seemed to have mysteriously disappeared and what was left didn't want to be
reassembled as easily as we'd hoped. Meanwhile, of course, we
were cooking and washing up out in the cockpit again.
Finally the cupboards were ready for their
new worktops and we decided to use plywood and ceramic tiles, to hopefully
create a more waterproof surface. Tiling was another skill not
often required on a boat! Cutting the small but thick tiles was
a painful operation, involving the fashioning of a homemade tile
cutter. If only we were closer to Phil's son Nathan who sold
professional tile cutters for a living! In the end we were
pretty pleased with the way our revamped galley looked.
|
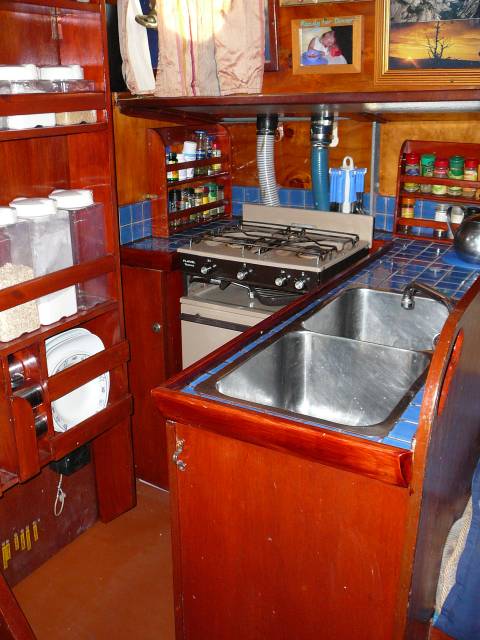
The finished galley
|
|

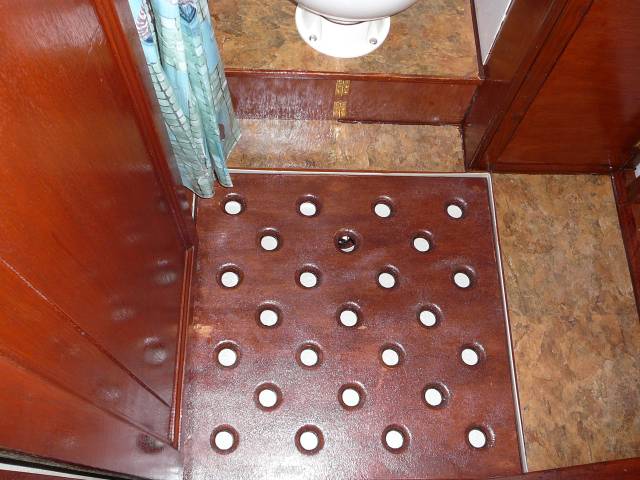
Bathroom - before with
holding tanks in place.
|
Onwards down our job list to the heads, or
bathroom, of our boat. Basically our starting
position was that our bathroom was simply a large, deep hole, with a shiny,
repainted hull base. First we had to start from the bottom
up by installing the grey water (waste washing water) and black water
(toilet waste) holding tanks. Once these were in position,
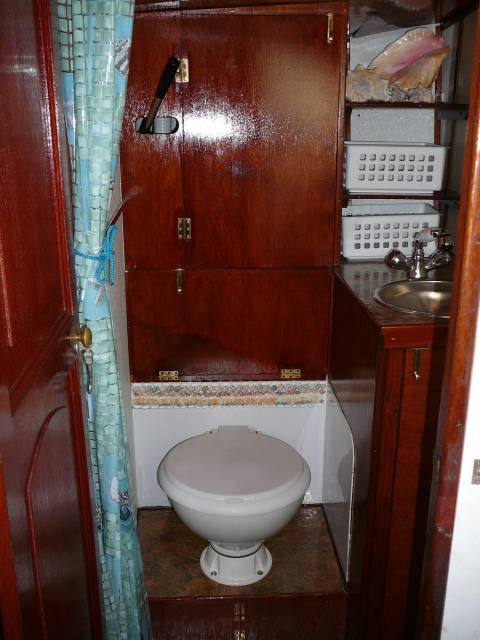
we again gave a lot of consideration to how to change the bathroom and
finally came to the conclusion, as we had with the galley, that the layout
had been pretty good as it was. We would build a new
interior but more-or-less along the same lines as the previous
one.
Luckily by now we had acquired a wide range
of good wood-working tools but cutting all the strange angles and shapes
needed in boat-building was still a frustrating
challenge.
|
|
We tracked down a base for our shower of a
slightly better design that the old one, having a lip to contain
water. Our main priority with the new bathroom was to ensure
that no water could leak out and stand on the hull, as this had, we
believed, been the cause of our previous corrosion problems.
Naturally the new shower base was an inch larger each way than the old one,
so we needed a new wooden base on which to stand.
In true Anju style we enquired about the cost
of teak grating material and on discovering that this ran into several
hundreds of dollars for the amount we needed, decided to create our own
shower base. We needed plywood one inch thick, which
seemed impossible to find in the USA. So, we epoxied together two
pieces of half-inch ply, creating a one inch thick piece of ply.
We then drilled and routed a pattern of holes into the surface for the water
to drain into the grey tank before finally applying more epoxy all over, to
waterproof the base. Hopefully this would prove as durable
as the previous tray which we had created the same way.
|
|
Shower base and the
finished bathroom.
|
|
|
By the time we were finished with our galley and
heads carpentryand varnishing projects, enough time had elapsed for us to be
able to paint the new concrete ballast. We then properly relaid
the cabin sole, replacing some sections in the process. We
settled on a lighter colour scheme for the floor, hoping to add light to the
interior of the boat and by applying a couple of coats of clear polyurethane
over the paint, we hoped that it wouldn't prove too difficult to keep
clean. By the time we were due to leave for our seven week
trip to the UK, Anju's new interior looked pretty spiffy, if we said so
ourselves!
There was hardly any time left for fun but we
did fit in a day out to Saint Augustine and the beaches of Jacksonville to
the north. We even managed to entertain our friend Rob
aboard and show off our handiwork during a Mexican fajita night.
Rob had kindly offered not only to chauffeur us to the airport, but also to
take good care of Anju in our absence.
|
|
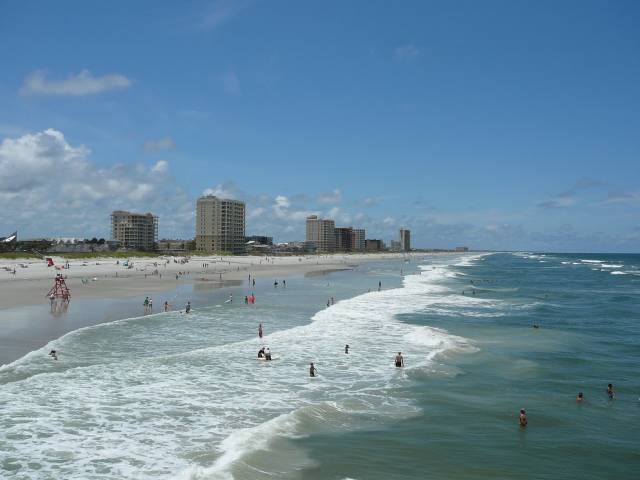
A day out at Jacksonville
Beach.
|
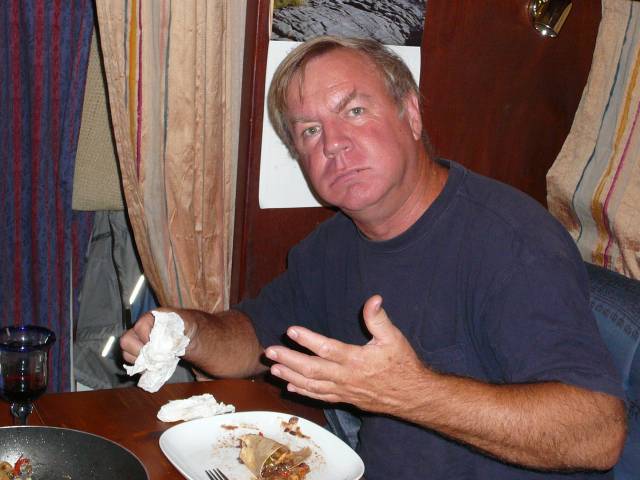
Rob enjoying Mexican food,
Welsh style.
|